WAHA + Geonode Proxy - bypassing errors on Cloud or VPS
June 11, 2024 in Tips by devlikeapro3 minutes

WAHA + Geonode Proxy
If you see the below error, you can use the Geonode proxies to solve this issue.
Read more about Proxies.
Could not log in. Check your phone’s internet connection and try again.
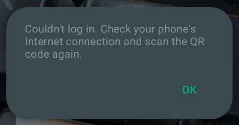
Unfortunately, that issue is caused by the WhatsApp server blocking your IP address - likely you’re using Cloud or VPS. The Geonode proxy is a solution that allows you to bypass this block and continue using WAHA.
The issue has nothing to do with WAHA itself, but with the WhatsApp server blocking your IP address.
Using Geonode proxy you can bypass the block and continue using WAHA in Cloud or VPS.
💡 Alternative is to run WAHA locally and expose it with Ngrok to bypass the block.
Step 1: Register on Geonode
Go ahead and Sign Up on Geonode!
Step 2: Get Premium Residential Proxy
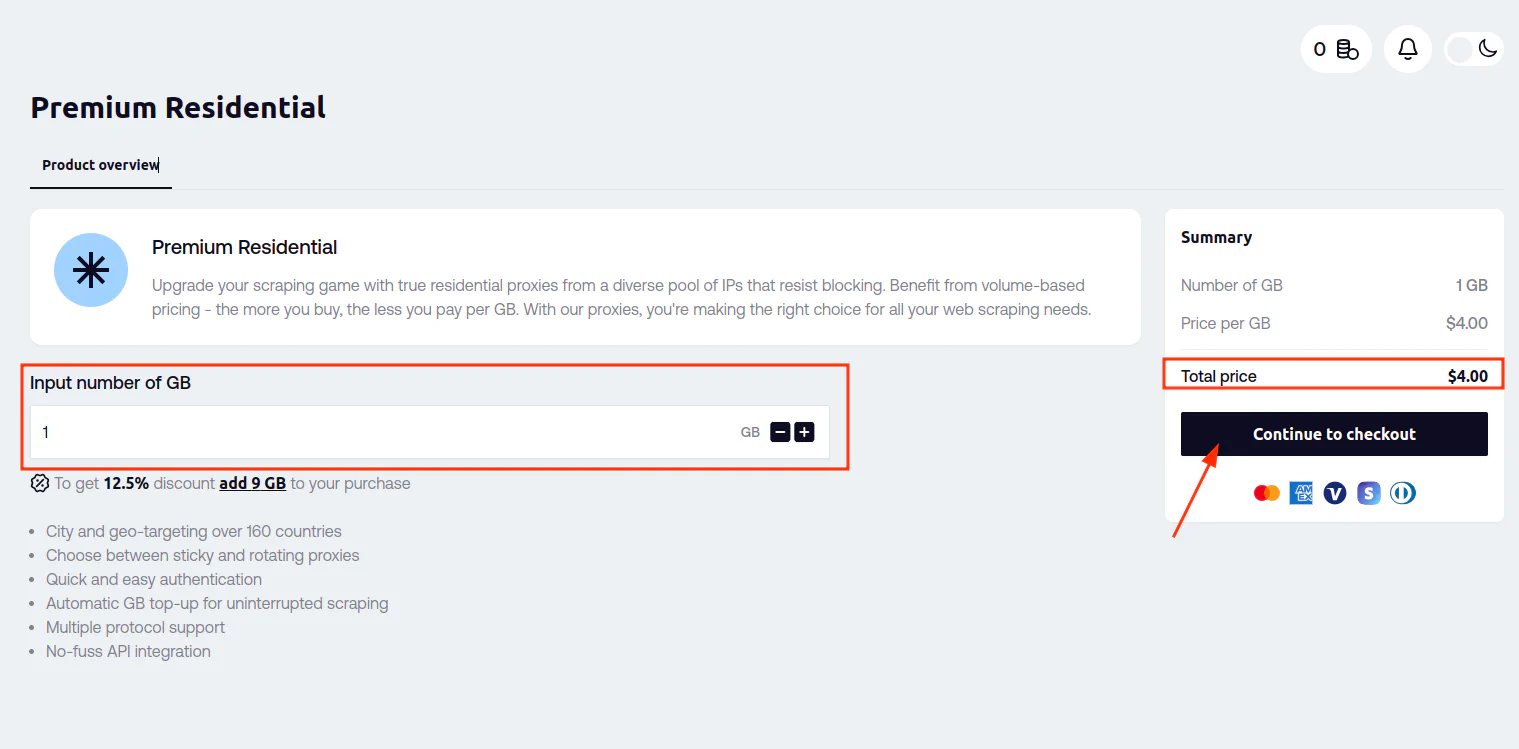
Now you need to get a Premium Residential Proxy from Geonode.
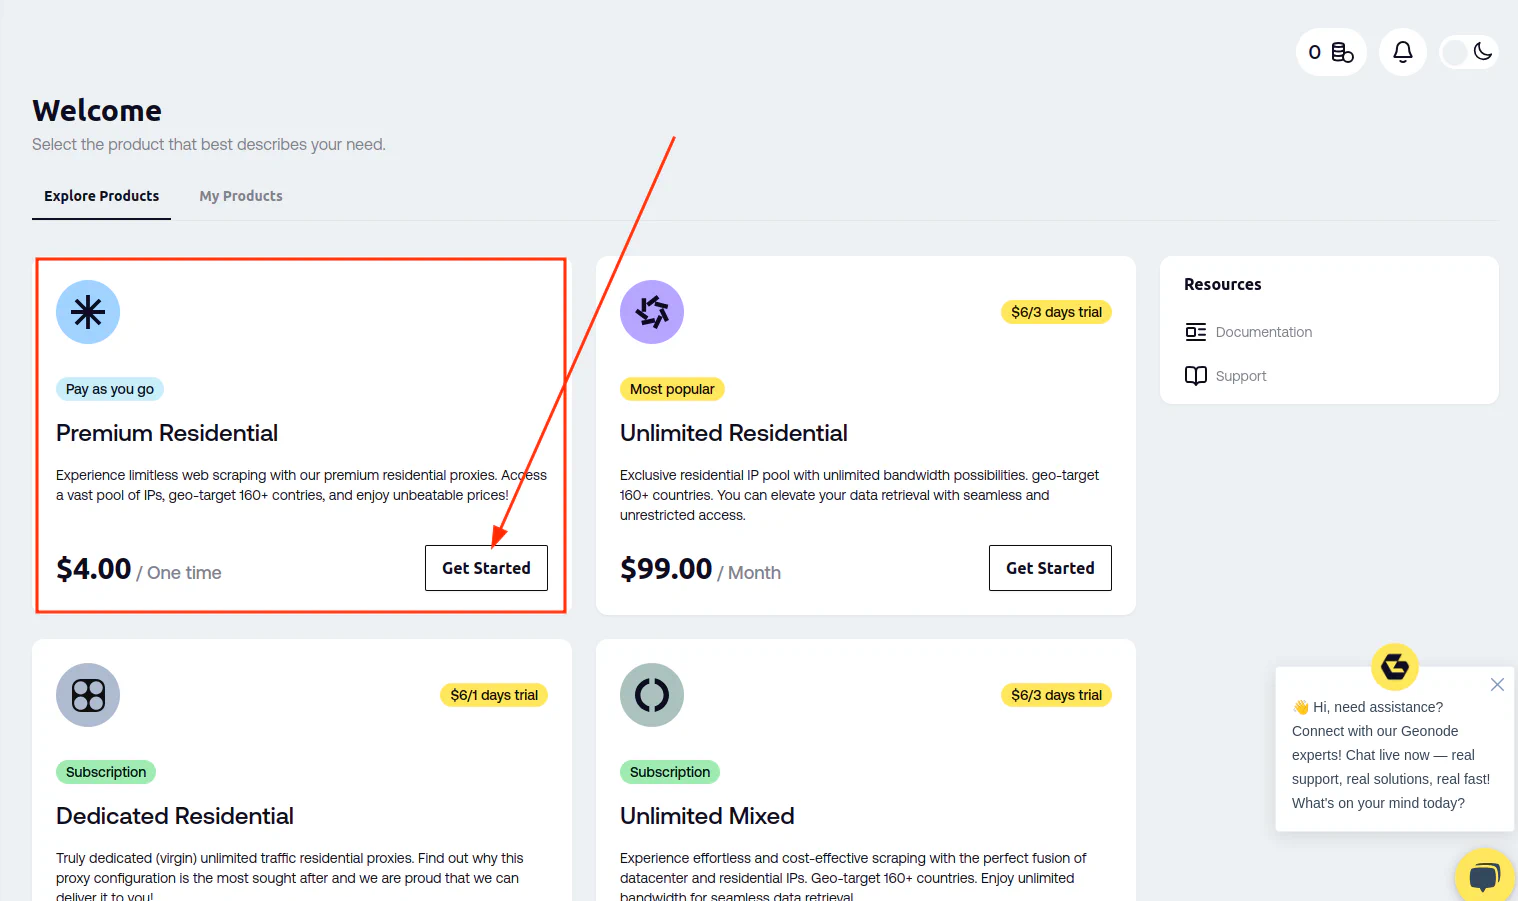
1GB ($4) is enough for the start and tests, but you can get more if you need it (it depends on your usage and how many sessions you want to run).
Step 3: Setup sticky session
After you’ve purchased the proxy, you need to set up a sticky session.
Go to Premium Residential Proxy and scroll down to Proxy Configuration and select:
- Proxy type: Sticky
- Protocol: HTTP/HTTPS
- Rotating Interval: 24 hours

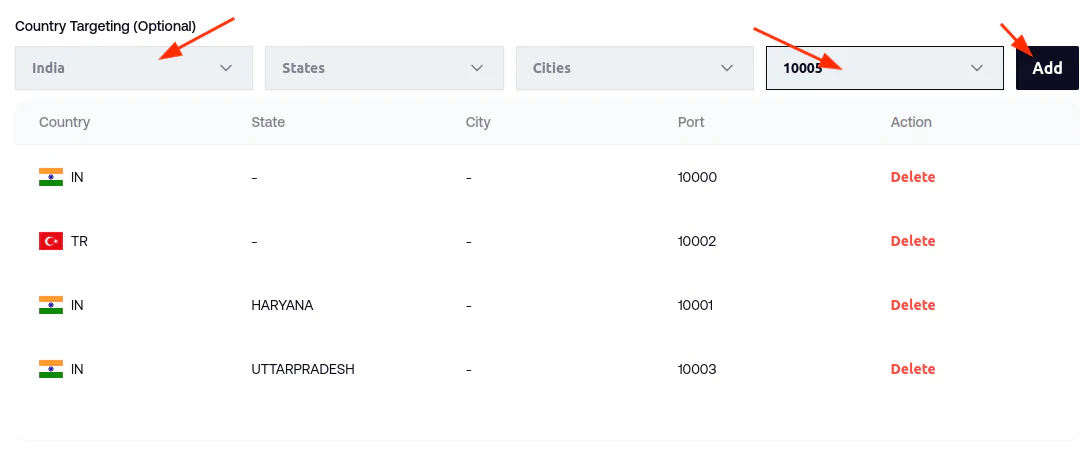
Now let’s configure Country Targeting (Optional) (it’s not optional for us).
- Select Country where YOUR ACCOUNTS (phone numbers) from.
- (Optional) - select State if you want to target a specific state
- (Optional) - select City if you want to target a specific city
- Select any available Ports (one is enough for tests), like
10000 - Click Add
Now you can check the proxy works - copy curl command at the top of the page and change port to 10000 (or any you’ve
selected).
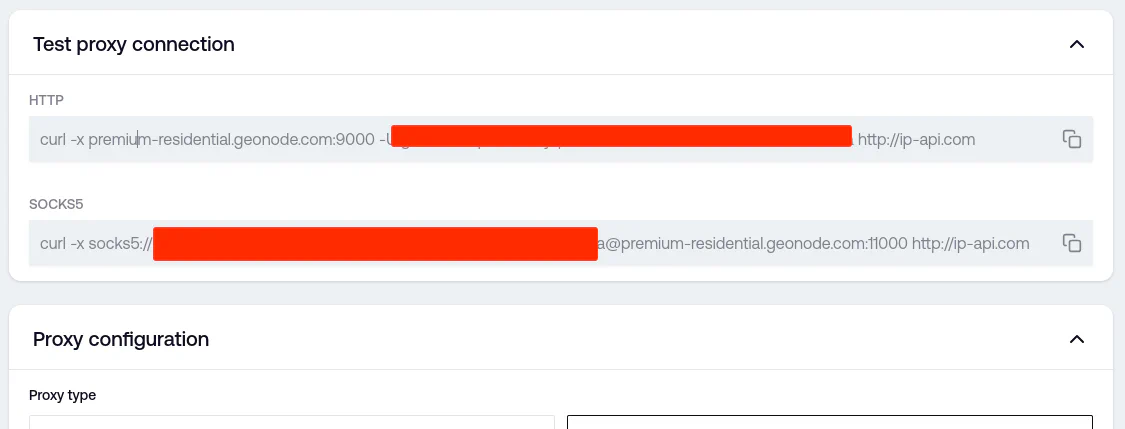
curl -x premium-residential.geonode.com:10000 -U geonode_1111111111:11111111-1111-1111-1111-111111111111 http://ip-api.com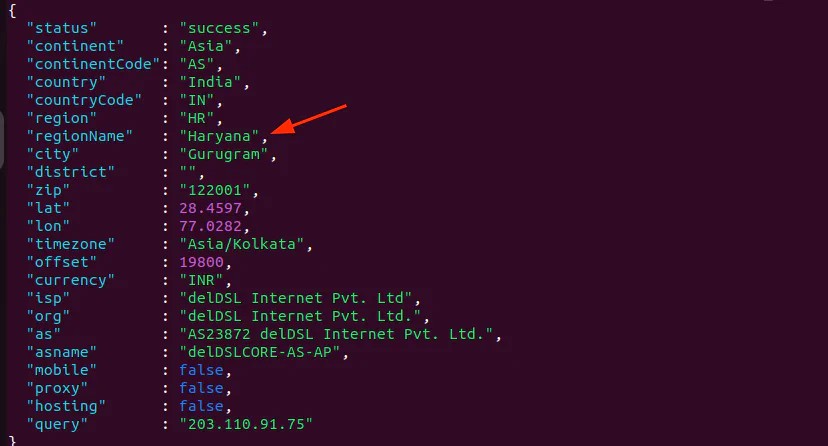
If it doesn’t work, check the proxy targeting configuration and try again with different ports.
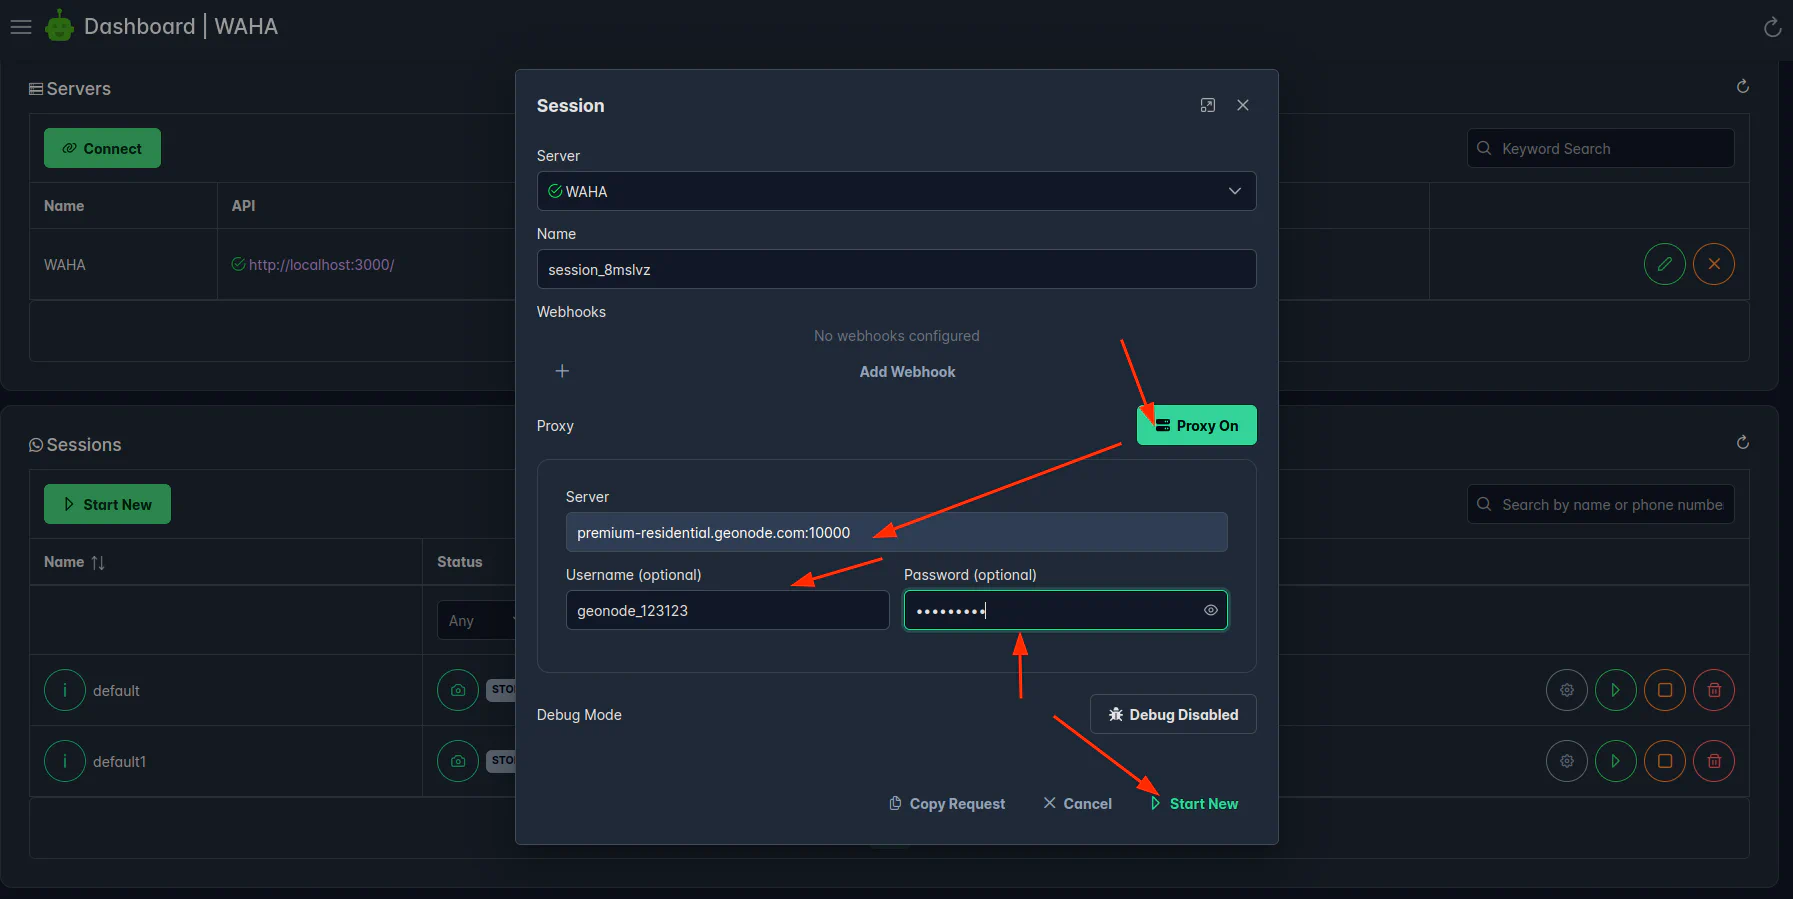
Step 4: Start WAHA session with Geonode proxy
Copy those values from the Geonode dashboard:
- Username
- Password
Option 1 - Start a session using WAHA Dashboard
Start a session using WAHA Dashboard.
Option 2 - Start a session using Swagger
Or you can use swagger or curl to send POST /api/sessions/ request with payload
{
   "name": "default",
   "start": true,
   "config": {
      "proxy": {
         "server": "premium-residential.geonode.com:10000",
         "username": "geonode_1111111111",
         "password": "11111111-1111-1111-1111-111111111111"
      }
   }
}
After that - scan a QR code and it should work!
👉 If you see “Could not connect device, try aging later” - stop and start session again and scan a new QR.
Step 5 (optional): Disable proxy for a session
After you got the session working and waited for 2 minutes - you can stop a session and start it again without a proxy.
{
  "name": "default"
}
Why disable proxy?
- It looks that WA checks the IP address at the start of the session, so you can start a session with a proxy and then disable it.
- Proxy is not super stable, so you can disable it and enable it again if you see issues.
- Proxy is not free, so you can disable it when you don’t need it.
Alternative
If that doesn’t work for you - you can run WAHA on your local network and use Ngrok to expose it to the internet.