🔧 Install & Update
You probably already have run the docker run command during ⚡ Quick Start guide:
docker run ... devlikeapro/waha☝️ The above command is good for development purposes, but not for production.
To make it production-ready, you need to configure a few more parameters to make it secure, reliable, and easy to manage. 💪🏻
Why Self-Host WAHA?
Self-hosting WAHA gives you complete control over your privacy:
- Data Privacy: Keep all data on your own servers
- Cost Control: No per-session/per-message pricing - scale as much as you need
- Integration: Deep integration with your existing infrastructure
Install
WAHA supports multiple deployment methods to fit different infrastructure needs.
All options are containerized - choose based on how you want to manage it.
Docker

Use Docker and Docker Compose for consistent, portable deployments.
services:
  waha:
    image: devlikeapro/waha
    restart: always
    ports:
      - "3000:3000"
    volumes:
      - ./.sessions:/app/.sessions
# ...- Management: CLI and Compose files 🟠
- Complexity: Medium 🟠
- Maintenance: Command line to pull image and restart 🟠
- Flexibility: Full control over configuration and scaling 🟢
- Cons: You own uptime, backups, and monitoring; updates are manual 🔴
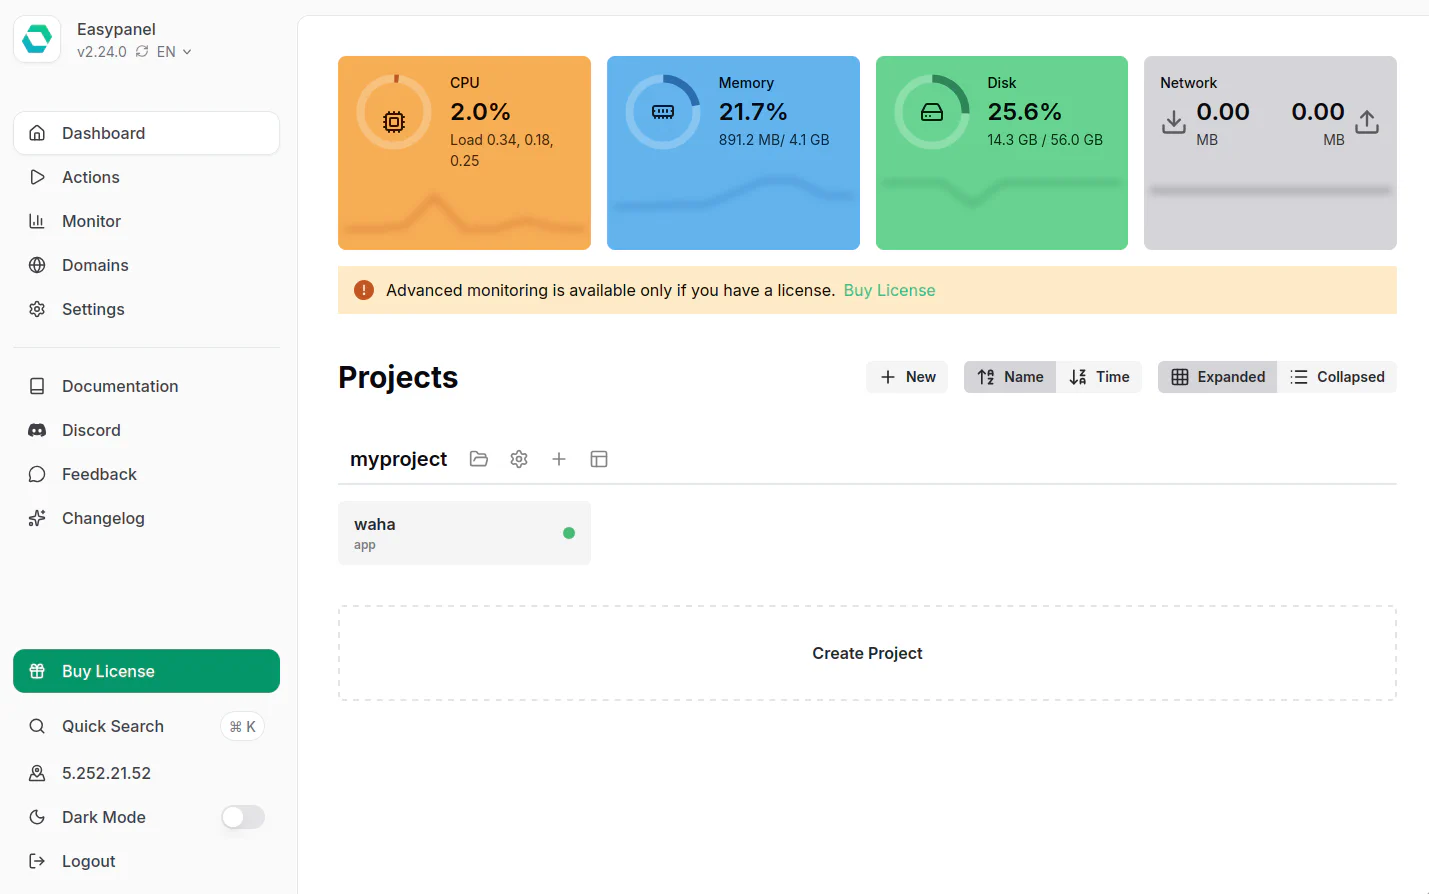
EasyPanel

Use an intuitive EasyPanel interface to deploy, manage, and provision SSL certificates.
- Management: UI (point-and-click) 🟢
- Complexity: Low 🟢
- Maintenance: One-click updates, SSL, and monitoring from the panel 🟢
- Flexibility: Less control over low-level settings 🟠
- Cons: Not open source, paid for more than 3 projects 🔴
Coolify
Coolify is an open-source & self-hostable alternative to Vercel and co for easily deploying services to your own server.

- Management: UI (self-hosted) 🟢
- Complexity: Low 🟢
- Maintenance: Panel-driven updates and monitoring 🟢
- Flexibility: Less control over low-level settings 🟠
- Cons: More developer-focused panel 🔴
ChatWoot
If you want to use 🧩 Apps, such as ChatWoot, please follow the specific installation and configuration guides provided for each app: